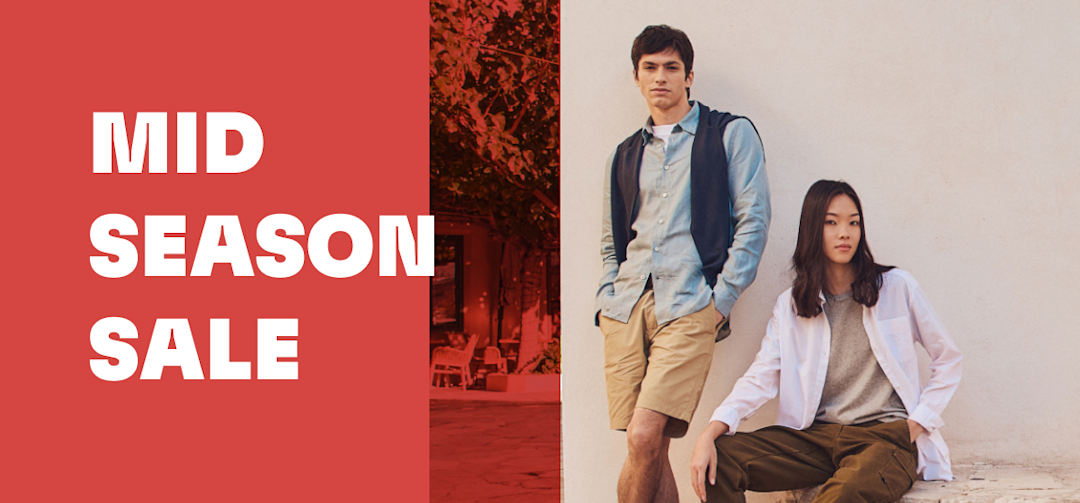
25% de desconto para encomendas superiores a 150€
Aplicam-se exclusões ⓘ
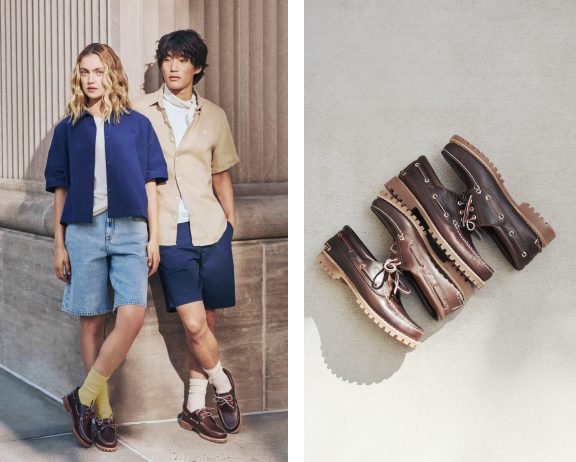
SAPATOS DE VELA
Nascidos da Qualidade e da maestria Artesanal
Estilo intemporal, inspirado na tradição
LIMITED EDITION
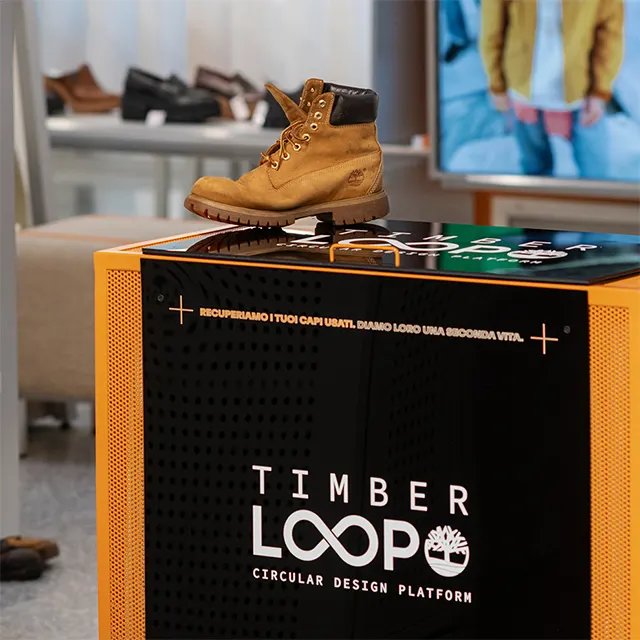
TIMBERLOOP
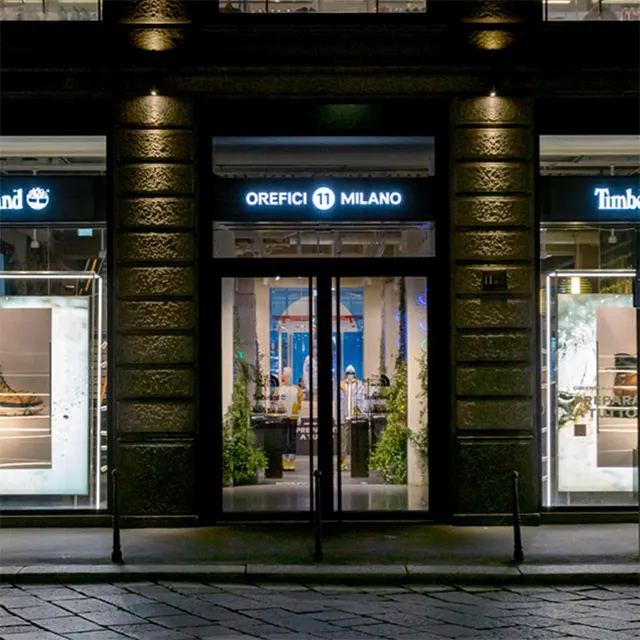
ENCONTRAR UMA LOJA
RESERVE ONLINE E COMPRE NA LOJA!